 | 注意 |
|---|---|
This section tells you how to initially import data from other financial programs that use QIF (Quicken® Interchange Format). | |
To import data from Quicken®, MS Money, or other programs that use QIF(Quicken® Interchange Format), you must first export your data to a QIF file. One way to do this is to export each account as a separate QIF file. An easier way, available in Quicken® 98 and beyond, is to export all accounts at once into a single QIF file. Check your program's manual to determine if this option is available.
Once your data is in QIF form, follow the easy 3-step import process described below. Before you get started, though, please note that part of the import process involves checking for duplicate transactions, so it is very important that you load all of your QIF files before importing. Duplicate transactions result when more than one account is involved. For example, if one of your transactions transferred money from savings to checking, you would end up with this same transaction recorded twice - once in the savings account and once in the checking account.
To import QIF files:
Load all of the QIF files containing data you wish to import.
To do this, select File -> Import -> Import QIF... from the menu. When the QIF Import dialog box appears, click Next and follow the instructions to guide you through the process of loading your files.
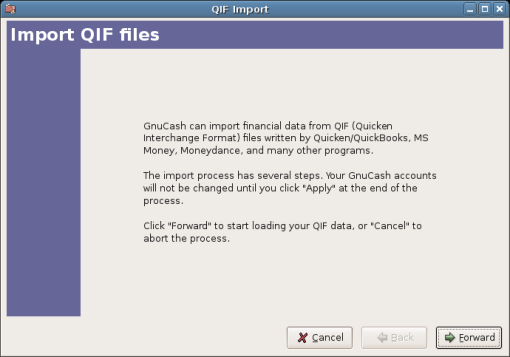
This image shows the start of the QIF Import Druid.
You will be prompted for a filename to load. Use the Select button to select your QIF file and click Next to load it. Once the file is loaded, select Load another file if you have more files to load. When you have loaded all your QIF files, click Next to continue with the import process.
Review the GnuCash accounts to be created.
The importer then matches up your QIF accounts and categories with GnuCash accounts and gives you a brief description of the matching process. Clicking Next will bring you to a view comparing your QIF accounts with the corresponding GnuCash accounts created. To change an account name, select the row containing that account name and edit the name in the dialog box provided. Click Next when you have finished making changes, and proceed through a similar category matching process. QIF income and expense categories import as GnuCash income and expense accounts (see 項3.1 for more on this). Make changes to these account names if necessary, and click Next to continue.
注意 If you are not sure what changes are needed, it is safe to accept the GnuCash account names. It is easy to edit the accounts later if you find you need to make a change.
From the drop-down list, select a standard currency to be used for imported accounts and click Next to continue. If you have stocks, mutual funds, or other securities, you will be prompted for additional information. The importer dialog will ask for the exchange or listing (i.e. NASDAQ), the security's full name, and the ticker symbol. If you do not have this information handy, you can edit the account information later, once the import is complete. Click Next to continue.
Tell GnuCash to import the data.
The last step is the import. Once you have verified your account names and investment information, click Finish in the Update your GnuCash accounts page to complete the import process. Depending upon the size of your file, the import might take a few minutes to complete, so a progress bar displays the percentage finished. When the import process is complete, GnuCash will return you to the main window, which should now display the names of the accounts you imported.